
Basic Format for Starting Garden Beds

This is my step by step guide, and the basic format I use when setting up no-till garden beds.
Step 1
Clear, weed, and de-root the ground of the area to be cultivated and planted. I recommend using a pick axe for stubborn roots, a shovel, and your trusty hori-hori for all your hand weeding.

Step 2
Take your spade shovel and dig up the entire planting ground. This means digging down to the base of the shovel where it meets the metal of the spade with each scoop and then turning it over. As you do this, pull out any roots you find as you go.
Step 3
Evenly space out and dump one wheelbarrow full (or bag) of your compost throughout your bed.
Step 4
Take a heavy duty rake and spread all the compost over the entire bed until it is evenly spread out.
Step 5
Get your fertilizer and spread it out by hand, covering the entire bed as evenly as possible.
When working with organics you don't have to worry about using too much fertilizer within reason. Just use your common sense and be balanced in you application.
You can also spread it by hand because it is non toxic.

Step 6
Dig in all the compost and fertilizer with your spade shovel to get it worked into the ground and below the surface level of the soil.
Step 7
When you plant your garden, mix both the compost and fertilizer into your soil before the planting.
Lastly, take a hula hoe or regular hoe and work the soil so it is chopped up and evenly spread out. Making sure you leave the bed set well mixed up so that you have good drainage, flow, and aeration.
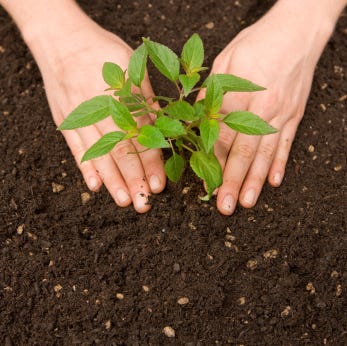
Now you are ready to plant your plants!
Straight Up & Free with James D is a reader supported publication.
If you found this valuable and educational, and appreciate the craftsmanship and care I bring in providing this content, please consider upgrading your subscription to support my work. You can also give a gift subscription, or make a one time donation.
Thank you!